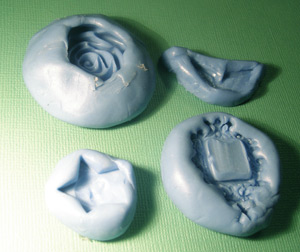
 I got a bit excited last night and decided to play with some mould making and resin on the spur of the moment.
The mould making didn’t go too badly, I think the moulds I made will work quite well – the resin on the other hand… eep.
Note to self: No matter how in-the-zone you think you are, always make sure you’ve refreshed your mind about the process of resin mixing before you start a project.
I use a two part silicone mould making putty which is SO easy to use.
- Grab an equal sized amount of each colour – i like to work with it a little bit individually to warm it a little which speeds the process and makes it easier to knead together.
- Knead the two colours together for about 30 seconds so that they blend without any marbling.
- Roll it between your hands to get a smooth ball and get rid of any ‘seams’.
- Place onto a flat surface and press the item to be moulded straight down into the putty making sure that there’s enough ‘lip’ to hold liquid if you’re planning on pouring a deep cast.
- Wait for 20 minutes or so and your mould should be ready to go.
You can use the moulds over and over again with heaps of different materials. Clay, polymer clay, paper clay, resin, wax, soap, UTEE, opals… if you can pour it or squish it, you can use it.
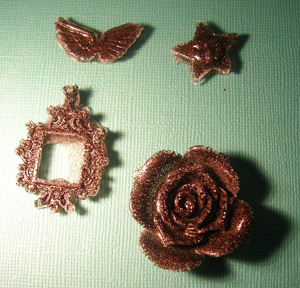
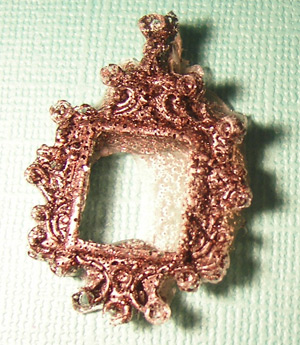
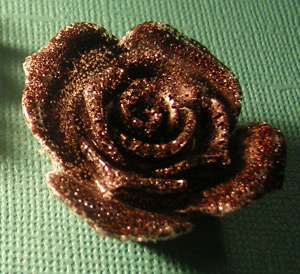
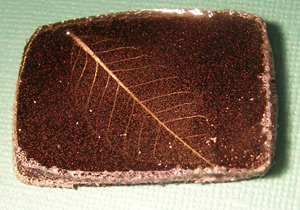
It would be nice to have a perfectly formed piece to post here showing the finished product but my resin experiment was not so successful. I undermixed the two part resin, then I added a pigment that didn’t really blend, just kind of sunk and added air bubbles.I’m sure there’s a way to get it to work, but that’s what I get for being hasty and doing things when I’m supposed to be in bed.
I might be able to salvage one of the pieces though, so all is not lost.
You can see in these pictures just how bubbly the resin is. Actually, these look better in the pictures than they do in real life – which doesn’t happen very much!
I used some more resin today – in a less experimental way. Results of that project coming soon. =)


They look fantastic! I adore resin, I want to start experimenting a little myself!
What fun you’ve been having making moulds!
I’ve had problems with bubbles before too and they always seem to be the result of either moisture (wrong colourant for the resin but hey, you’ve gotta experiment!) or contaminants from old mixing cups. I’ve learned to throw away the cups after every mix and now I get less bubbles as a result.
I really like the look of the leaf plaque – the veins are awesome!